This reflects the seller's handling time and may not include time spent in transit.
If you have questions about shipping, please contact the seller.
No shipping price specified to CA
Ships from
United States
Return policy
Refunds available: See booth/item description for details
Details
We accept returns for up to 30 days from receipt of delivery. RMA’s are not required or provided. Buyer must return item at their expense using the United States Postal Service. Partial refunds are provided for all returns, unless the return is due to seller error. Shipping costs are not refunded unless return is due to seller error. The cost the seller paid to ship the item to you will be deducted from the refund unless the return is due to seller error. If the return is due to seller error, then the buyer will be fully refunded for the transaction. The buyer is responsible for confirming they have selected the correct item or part prior to purchase.
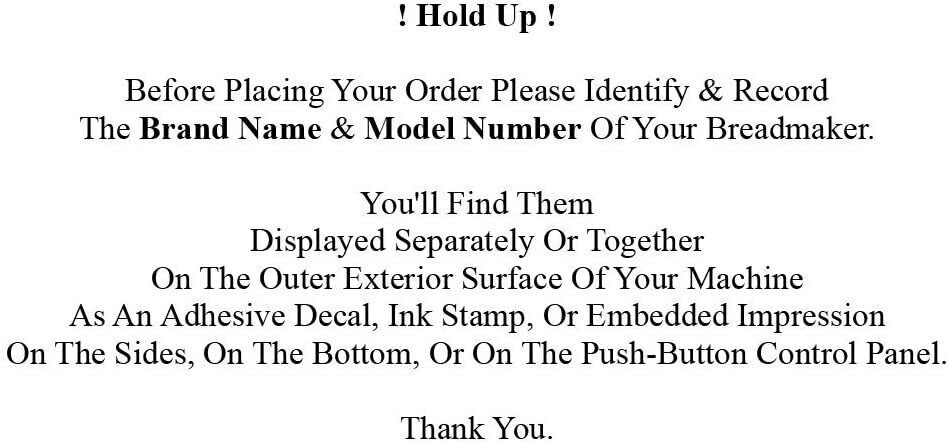
*Please take a moment to double check that you have ordered the correct item or part. If you have ordered a part, please confirm the model number of your small appliance by locating the manufacturer’s label / sticker / embedded impression found on the side, back, bottom, or control panel on the body of the appliance. (Owner’s manuals are not always accurate. P
This reflects the seller's handling time and may not include time spent in transit.
If you have questions about shipping, please contact the seller.
No shipping price specified to CA
Ships from
United States
Return policy
Refunds available: See booth/item description for details
Details
We accept returns for up to 30 days from receipt of delivery. RMA’s are not required or provided. Buyer must return item at their expense using the United States Postal Service. Partial refunds are provided for all returns, unless the return is due to seller error. Shipping costs are not refunded unless return is due to seller error. The cost the seller paid to ship the item to you will be deducted from the refund unless the return is due to seller error. If the return is due to seller error, then the buyer will be fully refunded for the transaction. The buyer is responsible for confirming they have selected the correct item or part prior to purchase.
*Please take a moment to double check that you have ordered the correct item or part. If you have ordered a part, please confirm the model number of your small appliance by locating the manufacturer’s label / sticker / embedded impression found on the side, back, bottom, or control panel on the body of the appliance. (Owner’s manuals are not always accurate. P
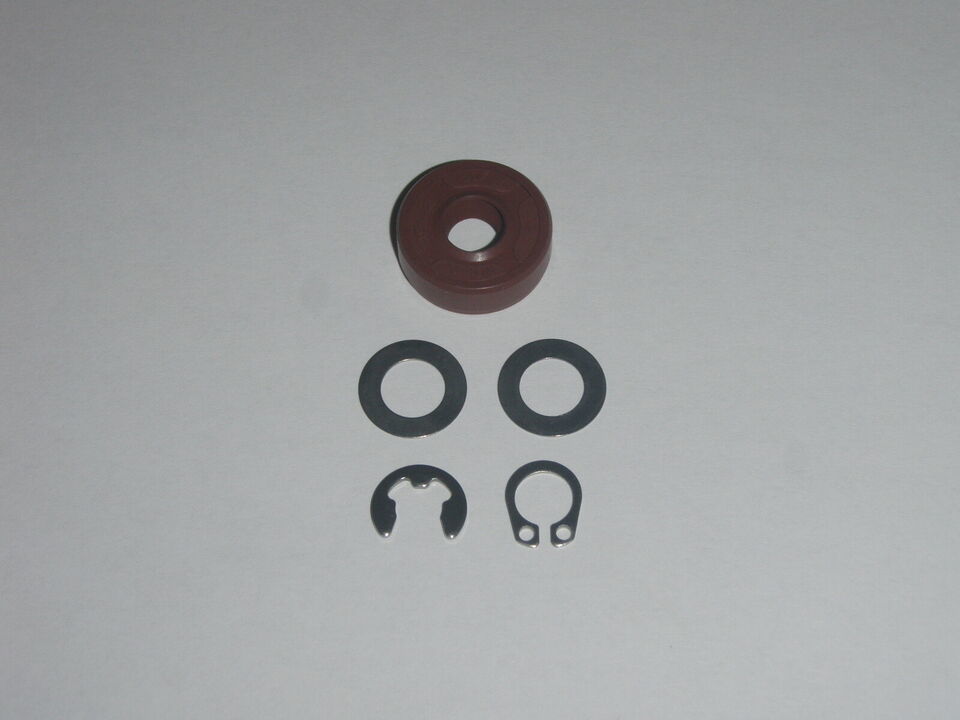
This new
"Heavy Duty Pan Seal Kit"
*Kit Includes: 1 Pan Seal, 2 Stainless Steel Flat Washers, Stainless Steel Snap Rings, Explosion Diagram, and Installation Instructions.
***You will need Snap Ring Pliers to Install the Snap Rings.
will fit the models listed below:
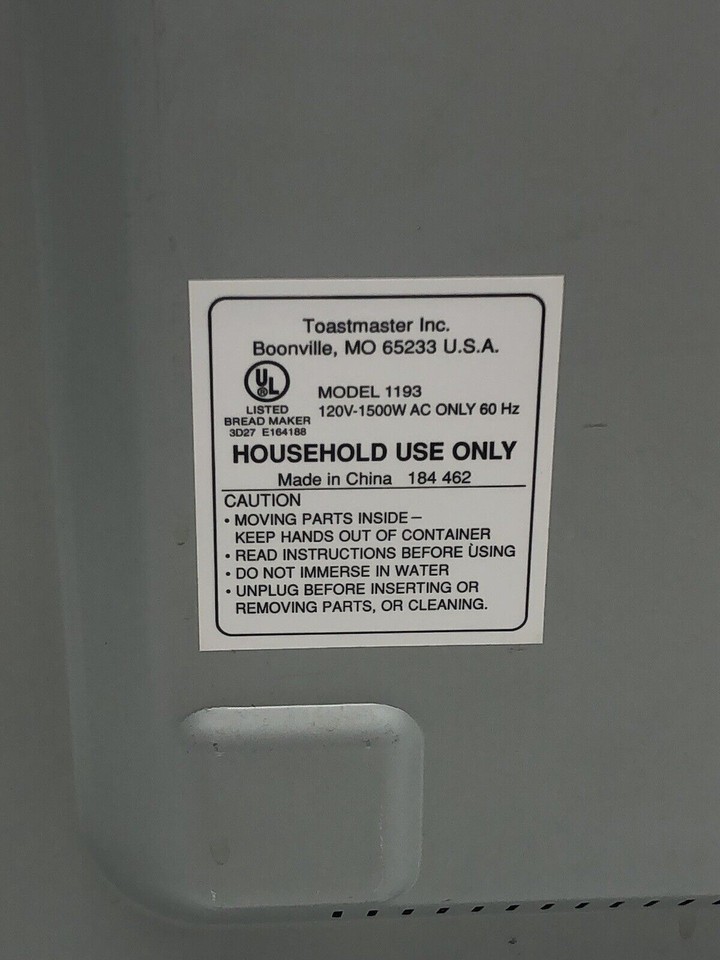
Toastmaster Breadmaker's Hearth
(Breadmaker Cook's Oven)
Automatic Dough Bread Maker
Model Numbers:
1139
1193
THANK YOU!
Bread Machine Parts Finder
***Important message about removing the seal in the pan:
8MKIT-HD
*(You will need Snap Ring Pliers to remove and install the
Snap Rings.)
*(You may need an E-clip installation tool to install the
E-clip.)
If the pan's shaft is still secure, then you may push the
seal out by removing the Snap Ring Wing Nut Impeller from the bottom of
the shaft. Then with minimal force push the shaft up and out the top of the
pan. This action will push out the seal. If the shaft will not push through
without using excessive force that may damage the pan, then you may want to
consider shipping the pan to us to have the seal replaced. If the pan shaft has
already come loose and fell out the bottom of the pan, then you will need to
follow the directions below in paragraph 2 3.
***If the
shaft has already fallen out the bottom, then you will need to pry out the old
seal using an old double ended can opener / bottle opener. Place a
business card or credit card in the bottom of the pan to prevent scratching
when using the can opener to pry out the old seal. Place the pointed end of the
opener into the center hole of the seal and gently pry upward moving from side
to side until the seal pops out. Please note that the seal has an inner steel
frame. If all you have removed so far is a thin piece of rubber, then you will
need to remove the rest of the seal known as the inner frame. It is important
that you be very careful when removing the old seal. If the hole the seal is in
becomes swelled, warped, or chipped then the new seal may not seat
successfully.
***I strongly
recommend that you do not install the new seal until you determine if the pan
is in fact repairable. Please remove the old seal and then use a magnifying glass
to inspect the hole for chipped off non-stick coating, pitting, corrosion,
dings, dents, swelling, or warping. If any of the damage described is present,
then please do not install the new seal. I can guarantee that it will not seat
or seal correctly. In this case you will need a new pan. Also inspect the
inside bottom of the pan at each rivet head for tiny cracks using a magnifier.
If you find any tiny cracks, then you will know that water is leaking through
those cracks, and a new seal kit will not fix the pan.
***Please be
aware that each time you replace the seal it may not last as long as the
previous seal, because the sleeve bearing in the bottom of the pan continues to
wear, which causes more wobble that creates more stress for the seal to bear. The thin
washers included in the seal kit are for replacing any Nylon, Teflon, or Fiber
washers that may be within the assembly. You may re-use any metal washers found
on the bottom end between the sleeve bearing and the wing nut impeller if
necessary. If there is a metal spring washer found on the bottom end between
the wing nut impeller and the sleeve bearing, then you will need to reuse it.